Tutorial – Fake camera mapping in After Effects

A feature that has been high up on my After Effects wish list for some years now is camera mapping. Unfortunately Adobe hasn’t listened to my feature requests yet so i came up with a super simple approach for faking camera mapping using AEs corner pin effect.
01 – Final shot
This is the final animation i want to do – just a simple camera move over a landscape:
CamProjection_example
02 – Footage
It is an image from a trip to Argentine – feel free to download it for the tutorial:

03 – Preparation in Photoshop
First i separated foreground (ground) and background (mountains) in Photoshop and imported the file as a composition, with the “retain layer size” option enabled. (I also separated the sky in order to animate the clouds later on). You could as well mask out the layers right inside After Effects – in this case you’d have to precompose the foreground layer and crop out the background part.
The results should look somethin like this:
The foreground – already cropped to its final size.

The mountains (no need to crop the layer).

And the sky – i stamped out the top of the mountains, so i can move the clouds behind them later on.

04 – After Effects setup
Open the imported Photoshop composition, set the comp size to your designated output format (in my case 1280 x 720), turn all three images into 3d layers and create a new camera.
Now place the anchor point of the foreground layer at its upper edge and rotate the layer 90° around x towards the camera. Then scale the layer in Y only until the lower edge reaches slightly beyond the composition border.
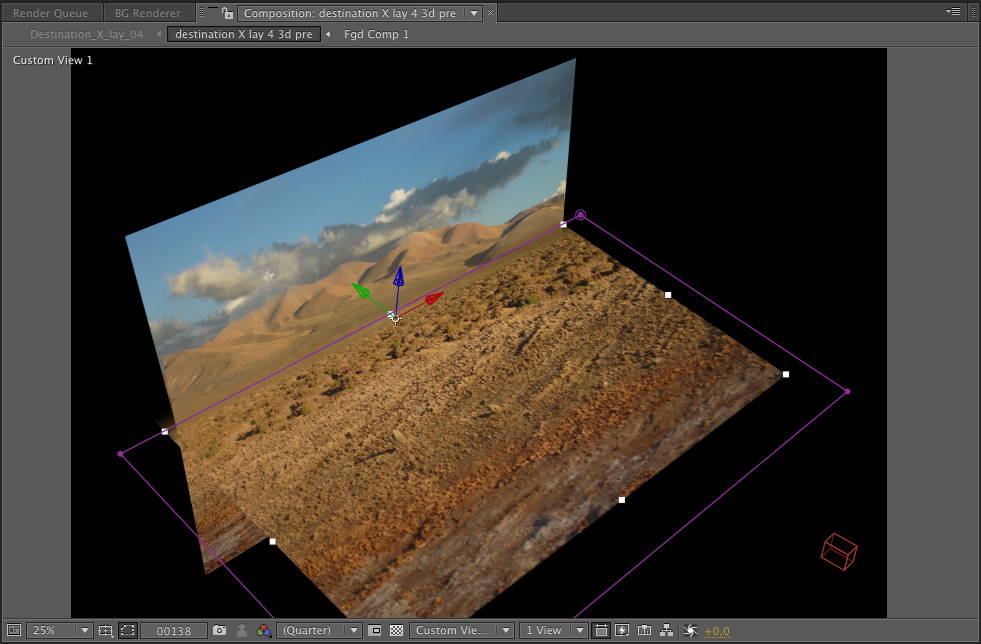
Looking through the camera the foreground looks distorted at the moment, because the ground that already has a perspective distortion gets distorted by your AE cameras perspective once more. But we’re gonna fix that in a second.
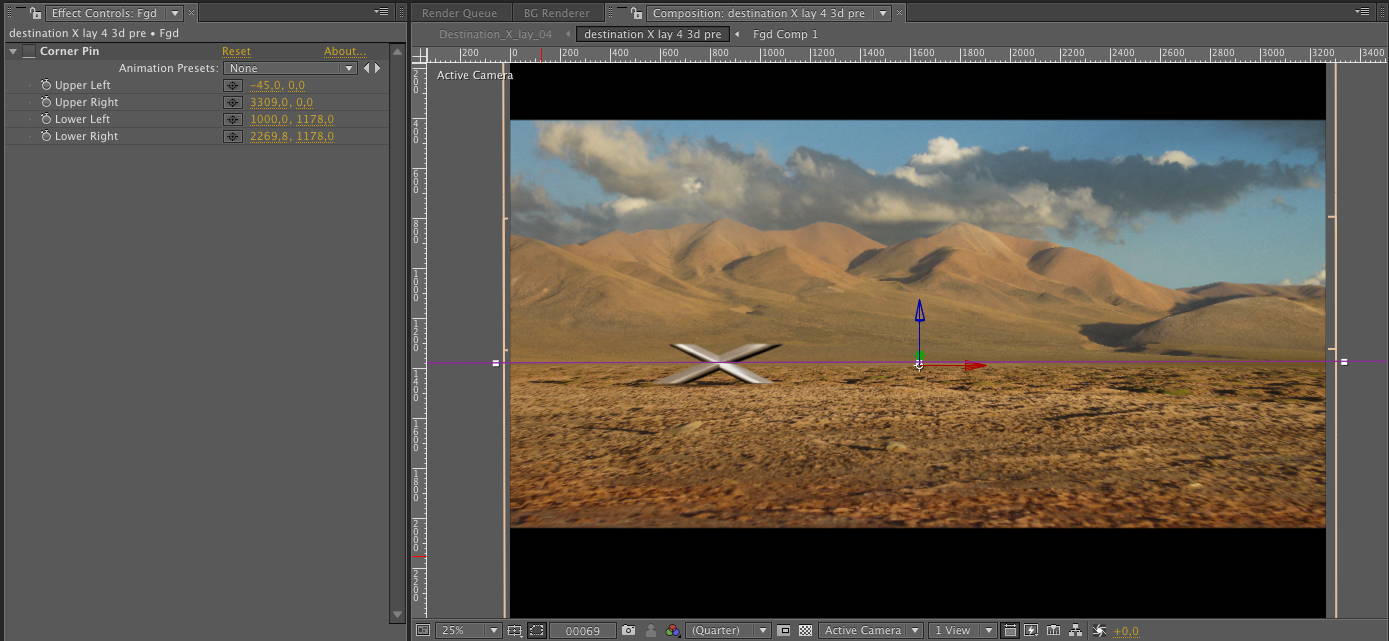
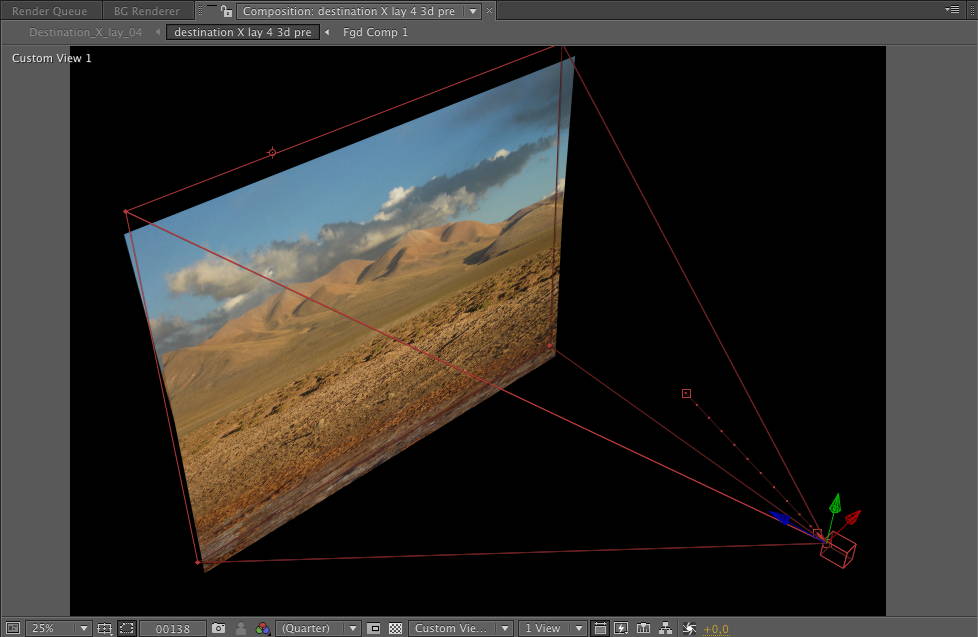
Removing perspective distortion
Now apply the corner pin effect to your foreground layer and simply pull the lower left and right pins inward until they almost hit the outer edge of your composition window. This should compensate for the wrong perspective caused by the AE camera and the composition should now almost look like the original 2D image.

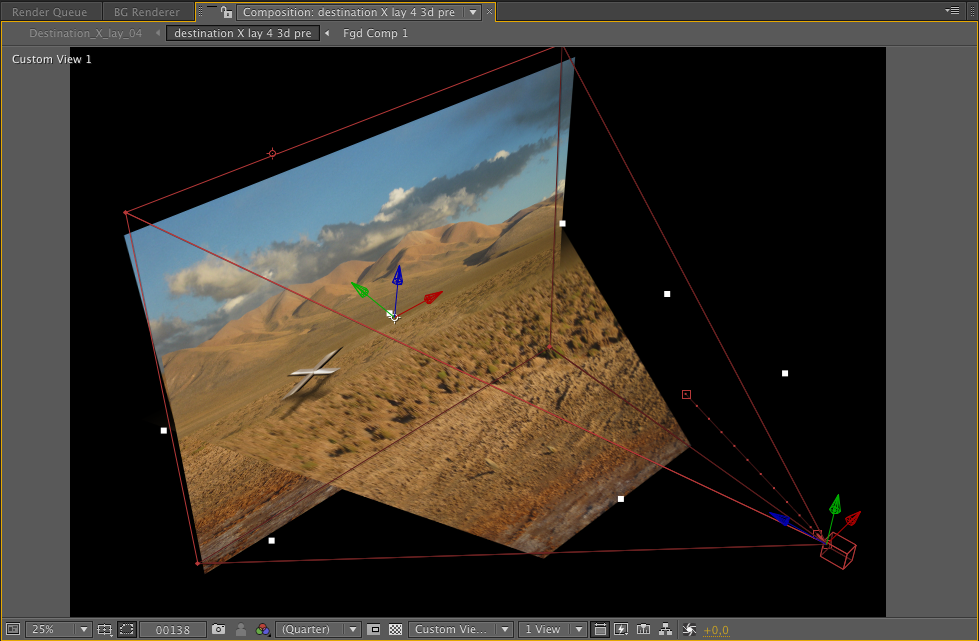
However – as soon as you start moving the camera you’ll notice some nice parallax going on and looking at the scene from above (switch to “custom view” instead of “active camera” in your composition window to check it) the setup already looks like a simple camera mapping:
05 Finishing
After animating the camera i also added a subtle animation to the clouds in the background. Instead of just moving the position of the sky layer i used another corner pin effect and animated the top left- and right pins to add more movement to the upper clouds than the lower ones, which gives a bit more dimension to the whole shot.
Final project
The project i used this shot for was a teaser for the BMW X4 world premiere at Shanghai motor show. Due to limited time i did most of the shots right inside of After Effects using stills and some archive footage. Only two of the shots where done in Cinema 4D.
Here is a preview of the whole edit:
BMW_XFamily_preview